Showing posts with label Transformers. Show all posts

Thursday, April 18, 2013

Thundercracker and Skywarp Custom Skystrikers

Once I found some Skystrikers on sale, I knew that I had to make Thundercracker and Skywarp to go along with my SDCC Starscream. First step is to as completely as is reasonably possible disassemble all the parts. Wash them with soap and water - this will help remove oil residue left on the plastic during manufacturing. I then primed all the parts with a medium gray primer. This creates a better surface for the top coats of paint to adhere to. Here is a picture showing some of the primed parts.

You could go ahead and get expensive hobby paint, but I find I get better, more durable, results with standard spray paint you would find in a hardware store or even your Wal-Mart/Target stores.

Here's a shot of some of the pieces with a black top coat.

Here is actually the first skystriker that I painted.  I don't think that I washed it well enough or perhaps it was too windy when I sprayed as there are several places where the paint either bunched up or didn't stick very well.  I set that aside and opened another skystriker, washing very thoroughly before painting.


Here's the base for Thundercracker


Here's my first and second attempts at Skywarp.  The one on the left was eventually turned into my Dreadnok Waspinator Skystriker.  Bet you never thought you'd see those three words strung together.  Post following on that.


Here's a profile shot of Skywarp, showing off his purple tail fins.  This is the second color choice for the fins, the first purple I chose was too dark, whereas this purple is much more of a "decepticon purple."


I've got to take a moment here and compliment the skystriker's level of detail.  It looks great in the normal gray that it comes with, but once you get a different color and in high gloss - the details just pop out.  I don't know how much you can tell from my somewhat lackluster pictures, but it is awesome.

So here are my boys without stickers:


I used some pre-made custom sticker sheets and enlisted the help of a fellow collector with much steadier hands and much more patience to apply them.  Here is the finished Thundercracker:


Here is my finished Skywarp:


And for comparison, here is the SDCC Starscream:


Here are the three seekers lined up.  Don't get me wrong, I think the SDCC Starscream is a fantastic toy, but I knew I had to make my own after seeing the three of them together.  


I liked the foil finish I got with my custom sticker sets, plus they had a shared style which was not present with the SDCC Starscream.  Fortunately one of my friends needed the Starscream and I had another Skystriker!  I painted the tail fins blue and got the appropriate stickers:


These guys look much better matched with each other.


Finally, here's a shot of my Skywarp with the corresponding Masterpiece figure.  I think they look great together even if the purples don't quite line up.  Yes, I do use these as matching figures - you can either go with the increased density in robot mode or mass-shunting theories if you feel the need to explain away the difference in size between robot and alt modes.  Fortunately I'm not too worried about that.


Wednesday, August 29, 2012

Warpath Custom Joe-scale Alt-Mode

When I got done with my recent Powerglide custom I caught a bit of the Joe-former bug. Here is what I did to make my Joe-scale Warpath custom. I started off with a custom tank that I bought off of eBay fairly cheap:
This was in itself a fairly cool vehicle. I liked the idea of making a Warpath better than keeping this as is though.
Here are the two base vehicles - the turret from a vintage MOBAT, the rest from the Marauder's Equalizer. (both of which I happen to have examples of)
Here I'm testing out parts to get more of a Warpath look. That's the very cool Transformers Generations Warpath figure there. I quickly concluded that the weapon and support on the left looked horrible and replaced it.
The weapon supports and the weapon on the right are the jetpacks from a POTF2 Deluxe Boba Fett figure - two of them chopped up for these. The rocket firing weapon on the left is from... some Joe figure pack-in I think. Dunno.
Here he is assembled after the Mauler Skirts came in the mail. Oh yeah, the muzzle is from a Clone Trooper pack-in radar dish or something. I'm not totally in-love with it and may replace that someday.
Disassembled, washed and ready for priming!
Primed!
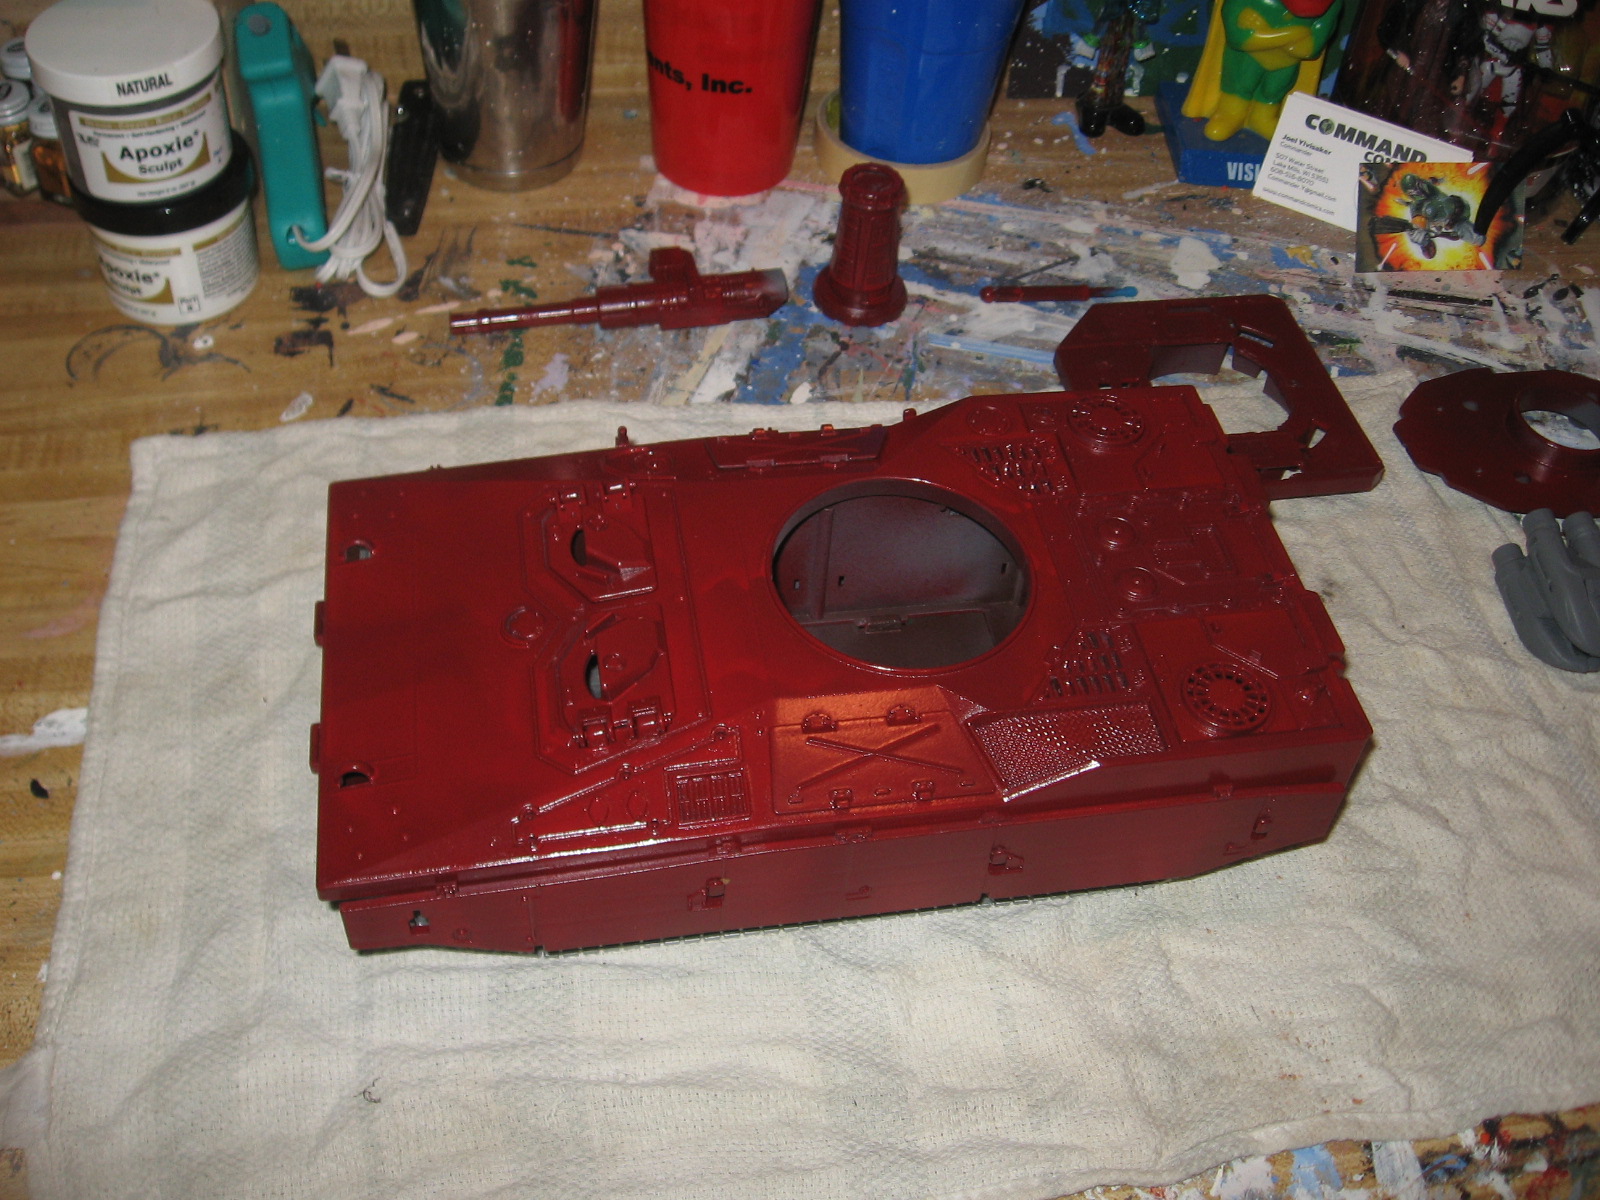
Painted! I used silver for the treads, the same red from my Powerglide custom, and left the flat gray primer on the weapons.
All the parts laid out for assembly.
The main body assembled.
Turret parts.
Final assembly!
Here are some comparison shots with the actual Warpath figure. No stickers yet.
And with stickers. I used a combination of Mauler, MOBAT, and Autobot sigil stickers, all from Cobrastickers.com.
And that's all there for this guy - what do you think?

Thursday, August 23, 2012

Powerglide A-10 Custom Joe-scale Alt-Mode

After the SDCC Starscream "Joe-former" release I knew that I'd have to start making some similar vehicles to explore that niche-itch. Here is my take on the Powerglide A-10 as a GI Joe sized vehicle. I forgot to take a before picture so here's someone else's picture of the same base vehicle. It was a BBI Combat something or other that I picked up on clearance at Target sometime in 2005 or 2006.
Here he is taken a part and washed (he got dusty after all those years).
I hadn't done a vehicle custom in quite some time so I wanted to try my hand at brush-painting this guy rather than spray paint. This was ultimately a mistake, but a mistake I feel like I need to experience on my own. Here he is primed with a gray paint.
I actually liked the color this came out, but the texture was off and it was very flat. This is a mock-up after the first coat of paint just to see how I was coming along.
Here is assembled after his second coat of paint and with a 25th Anniversary Wild Weasel for scale.
I fairly quickly realized that I would need to spray paint this bad boy as the brush job just didn't cut it. I taped off the gray parts.
After the first coat or so (you can see Skywarp and Thundercracker in the back there).
Here he is all assembled and ready for the final touches.
Another shot.
This is after I applied the Autobot sigils and stood the pilot custom - Buster Witwicky next to Powerglide.
Finally here several completed shots after Sgt Humpty lent his abilities to apply the remaining stickers. I used a combination of ME Skystriker stickers, a sheet from a Power Team Elite F-18, and Autobot symbols from Cobrastickers.com. That is the Transformers Generations Wal-Mart G1 color variant Powerglide Transformer shown with my custom.